How to Adjust Toilet Float? – Mechanism Easily and Quickly
In case of any problems with your toilet, you often call a plumber. But there are types of problems that can be solved on your own, without special skills or expensive equipment.
The question of how to adjust toilet float mechanisms is just one of those. It doesn’t take much skill, experience, or specialized tools to do this job.
All you need is a comprehensive guide, some extra parts that won’t cost much, and a bit of confidence. Types of toilet flush mechanisms differ, but there is none that would make the adjustment too hard. So, prepare to learn how to do it by yourself.
Guide on How to Adjust Toilet Float
The art of toilet fill valve adjustment is not the one to spend a whole life on. You don’t have to be a professional plumber to master adjusting the float in the toilet.
Prepare to open your tank, get your hands a little wet, and learn the adjustment methods. It’s not that hard: manufacturers provide easy tools for adjustment, like screws, movable cups, or side clips.
Reasons for Adjusting the Water Level
When your toilet tank float works incorrectly, it can result differently. For example, it keeps on letting the water in when the tank is full, so the excess water just flows down the overflow tube.
This, in turn, results in waste of water which literally goes down the drain. A low water level in the toilet tank is no better when the float prevents the tank from filling. It means you have to flush twice or even more, which leads to extra consumption of water, plus wasting time.
Knowing how to adjust the toilet float can save you time and expenses. As you will see, there is no need to call a plumber as soon as you notice this. The problem is solvable with your own hands.
Toilet Float Types and Guides on Adjusting Them
There are the four most popular types of toilet floats in use in 2022. Each of them can experience such a problem, so I will cover all of them for you to handle the float correctly regardless of its type.
No matter which toilet you use, there are things you have to do first in any situation.
- Cut off the water supply. For this, you need to turn the valve on the pipe beneath the tank clockwise.
- Flush the toilet like you usually do.
- Check if there is any water left. Since there can be no problems with flushing, likely, there will not be much of it.
Now that you have your supply off and your mechanism exposed, you can start toilet float adjustment. Prepare a screwdriver and use it on the adjustment screw if necessary.
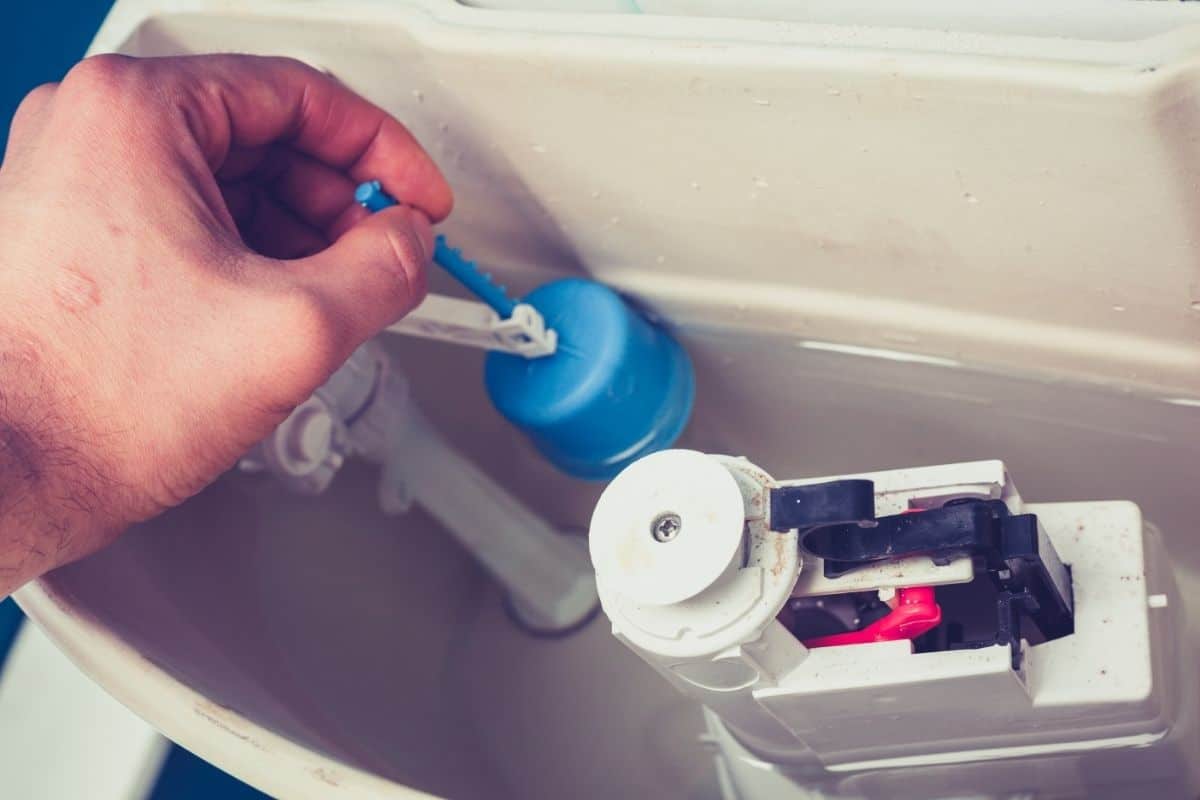
1. Ball-and-arm float
This is the type of flush mechanism that appeared with the modern toilet as it is and that is regulated with a float ball on an arm. If the ball is set too high, the tank will overflow, and the water will constantly go down the overflow tube.
If it’s set too low, the water amount in the tank can be insufficient for an efficient flush. The required level of the ball is the water level in the full tank.
Here is how to adjust the water level in the toilet tank with a ball-and-arm float system.
- Check whether the float moves freely with the water level. With the water flushed down, it has to remain almost at the top, as if it’s floating on the water while the tank is full.
- Check the float to see whether it’s filled with air, with no water inside. A broken or cracked float will remain under the water level even when the tank is full, according to Archimedes’ principle. If it is so, you will need a new one. Buy one and repeat the procedure afterward.
- If the float is alright, you just need to adjust its height. This is done by turning the special screw that usually can be found on the top of the flush valve. For some models, you will need the screwdriver; others have the adjustment handle.
- Turn the screw clockwise to lower the ball if it is set too high. If it’s set too low, turn it counterclockwise.
To check whether you have done everything correctly, do the following: - Turn on the water supply and let the tank fill. Watch the water as it flows in.
- Check whether the ball floats and whether it stops at the right level. The right level must be half an inch (down to one inch) below the overflow pipe.
- Flush the toilet and check whether the flush is powerful enough.
- If it is, close the tank with the lid.
Steps 5-8 are necessary regardless of the mechanism type, so for the next paragraphs, I will just reference them instead of repeating them.
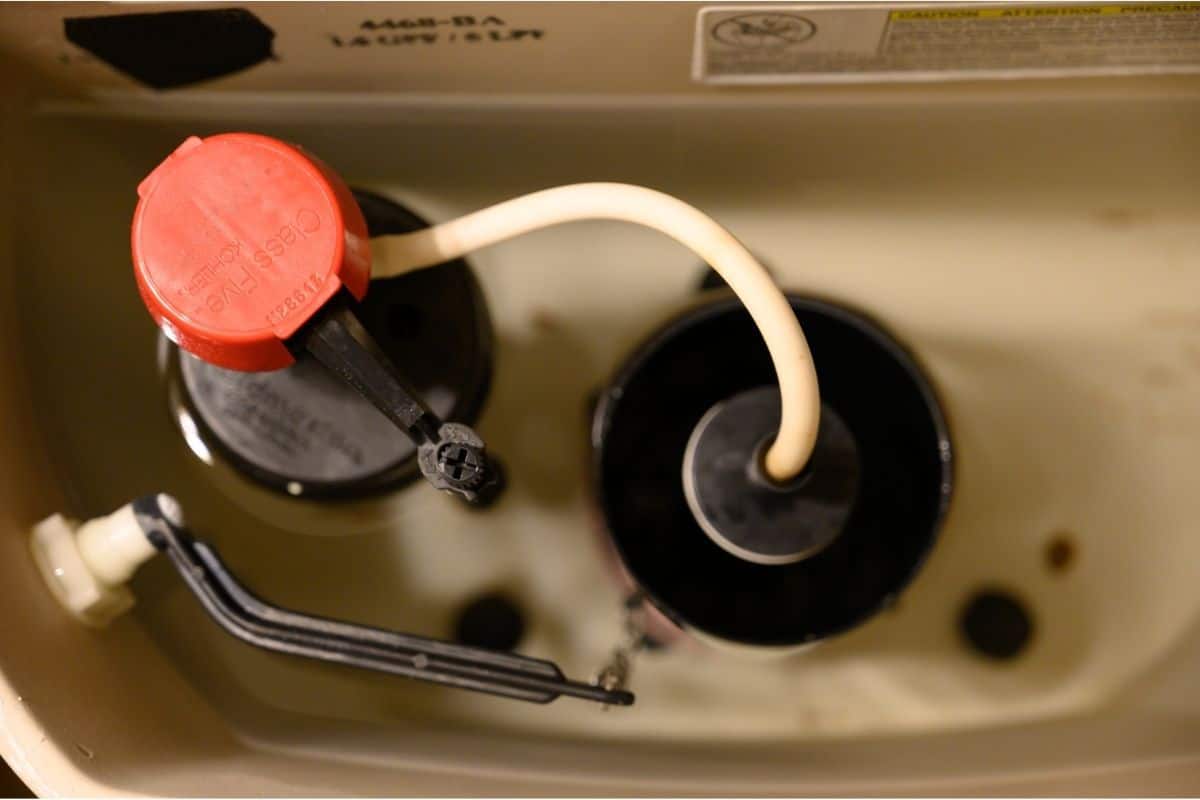
2. Float cup
It’s the most popular mechanism in toilets produced nowadays. It uses a fill valve shaft with a cup float that moves up and down it. The cup is attached with a plastic mechanism or a metal clip. The method used to do it depends on the exact mechanisms.
Some of them use a special plastic screw with a handle that you can easily turn clockwise or counterclockwise to adjust the level. If there is no screw to be seen, there is still a solution for how to adjust the ballcock in the water tank.
- Check whether the water is overfilling or underfilling the tank.
- If there is too little water, move the cup up the valve shaft on the rod it’s attached to.
- If there is too much water, move it down the shaft.
- Check the water level, as described in steps 5-8 of the first section.
3. Internal float
Hidden internal float mechanisms are rather a new trend in the toilet industry. They are efficient and easy, but not as popular as traditional float cup constructions. To adjust the toilet water level in this one, do the following:
- Twist the top head counterclockwise to unlock it.
- Move the head up or down to adjust the level. The optimal level, as with any other construction, should be 1” to 1/2“ below the overflow tube.
- Twist the head clockwise to lock it again when adjusted.
- Check the water level, as described in steps 5-8 of the first section.

4. Cylinder float
It’s indeed a version of an internal float mechanism, with no separate ballcock, but it still does have the float as an element. It’s attached to a stem that goes vertically parallel to the shaft. You probably have already guessed how to adjust the toilet float of cylinder type:
- Find the rod that the float is connected to.
- Squeeze the release clip and move it up and down (depending on whether your tank underfills or overfills).
- Release the clip.
- Check the water level, as described in steps 5-8 of the first section.
This mechanism does not differ much from the internal float, and sometimes professionals even don’t separate it from other types but consider it a variant of float-cup construction.
FAQ About Adjusting the Toilet Float
Here are the most common answers to the question you might want to ask before starting the actual work. You better know that before, so read it.
Why is my toilet tank filling up with too much water?
Because the float is set too high. This results in extra water constantly going down the overflow tube or pipe. To stop this constant overflow, you need to adjust the float like described above.
Why do I have to flush my toilet twice?
It mostly happens because the water level is not sufficient, so one flush does not work as designed. To fix it, you need to move the float up. It can also happen because of the toilet ballcock leaking, which results in water drainage.
Finally, it might turn out that you practice partial flushing which does save water if applied right, though I think you would have noticed that after some time.
How often should you replace the fill valve?
Usually, a valve can work for up to six or seven years. It can start leaking earlier, though, if you use the toilet very frequently, apply harsh chemicals for cleaning the bowl, or the water in your area is too hard. You can tell by leaks or hearable hissing that your valve has to be replaced.
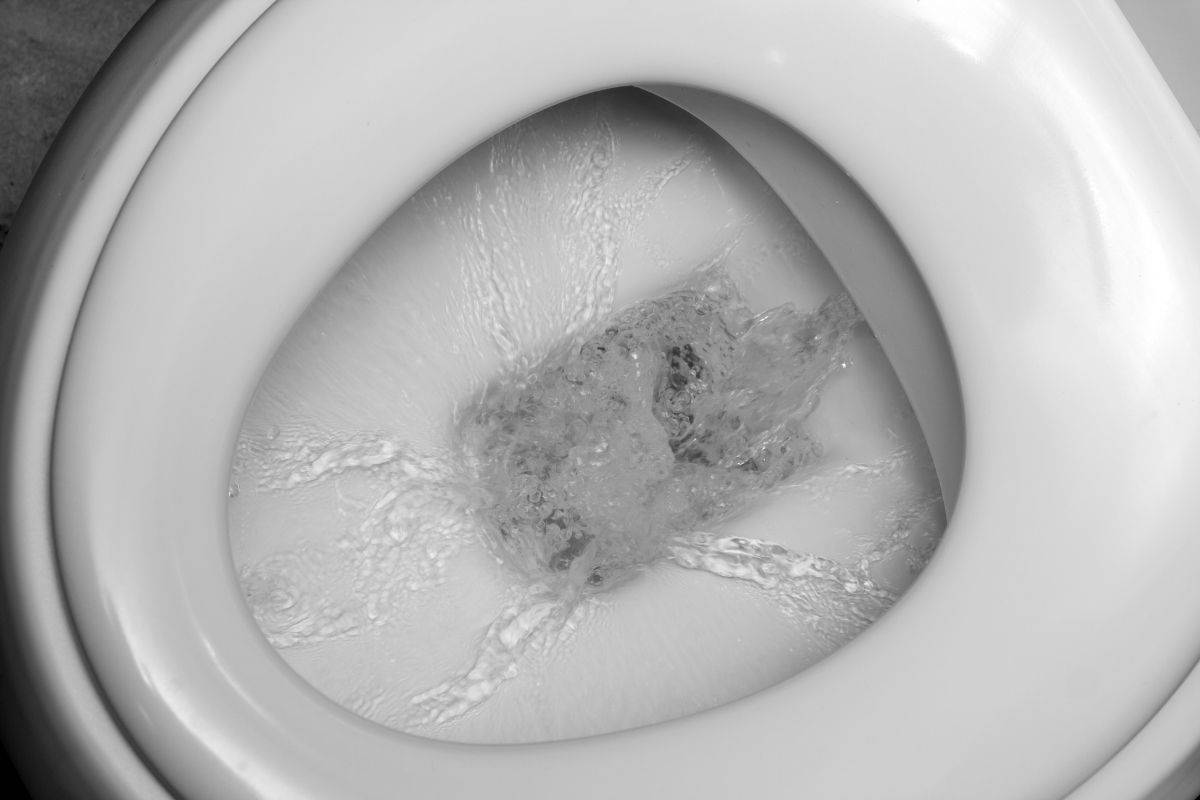
What does the toilet overflow tube do?
When there is too much water in the tank, the excess goes to the bowl and down the drain through this pipe or tube. It’s designed to prevent the tank from overflowing, so it’s set an inch or half above the normal level.
There is a similar pipe in your bath that consumes the extra water if you overfill it. When you are adjusting the float, the overflow tube is the reference for setting the right level.
Also read:
- Best Toilet Repair Kit
- Best Wall Mounted Toilets
- Toto Toilet Reviews
- Best Flushing Toilets
- How to Fix a Kohler Toilet That Keeps Running
- How to Fix a Wobbly Toilet
- Toilet Tank Not Filling
- Types of Toilet Flush Systems
- How to Adjust Water Level in Toilet Bowl
- Toilet Gurgling
Send Your Troubles Down the Drain!
Now that you have the basic knowledge of how the toilet float functions, you are ready to fix toilet float issues by yourself. If you feel that you are doing something wrong and cannot handle it, don’t hesitate to call a plumber.
It might be a better solution than trying to conclude the fixing. Still, I hope I have covered all the questions you might have, so you are prepared to do the fixing. If not, welcome to the comments and ask me what you’d like to know.
Gerald Carpenter
My name is Gerald Carpenter and I am a professional plumber in the third generation. My father was a plumber, my grandfather was a plumber. I wish I had records on my other ancestors.